&geometry(115x98) "Loyal I.T Solutions")
Setting an Out of Office reply
 "Setting an Out of Office reply")
How to set your Out of Office Reply this Christmas Break
Setting an Out of Office if you are using the Outlook desktop version.
Step 1
Open Outlook
Step 2
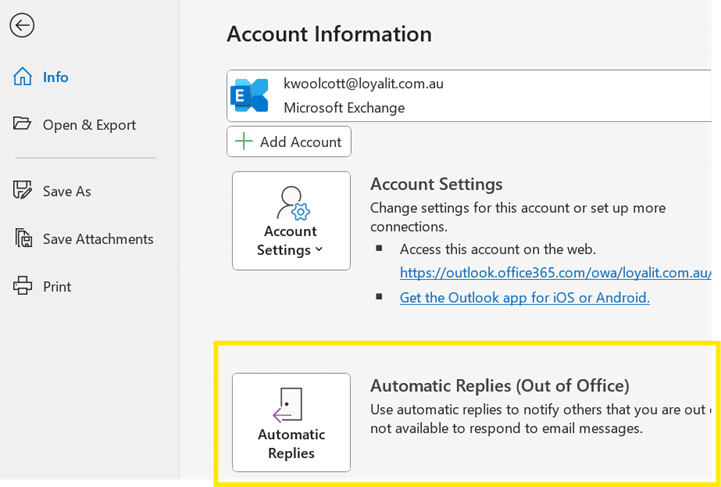
Click on File in the top left of the Outlook screen.
Step 3
Click once on Automatic Replies (Out of Office).
Step 4
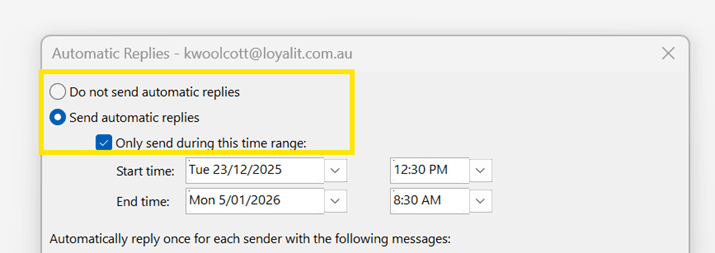
Select Send Automatic Replies and tick Only send during this time range
Step 5
Select the dates that you want the message to appear for. A hint for this section is to choose your last day and the last hour you are in the office as the start time (for example 23/12/2025 12.30PM) and this is when your messages will start being sent from. Then for the end time, choose just before you are due to be in the office as the time for it to end (for example 05/01/2026 8:30AM).
Step 6
You can set a more casual message for Inside my organisation which will include less formal language for co-workers. Choose your wording and type it in the text box, for a message to co-workers.
Step 7
You then can choose the Outside my organisation tab and type a more formal message for clients, letting them know the range of time you are absent and redirecting them to an on-call person or an action they can do if they need a response straight away.
Step 8
Click the OK button to set the out of office message.
Please note that Outlook does not include your signature automatically. If you wish to attach your signature you will need to copy and paste it, when typing the message.
How to set an Out of Office on the Web Version
You can also set the Out of Office message on the web version of Outlook. The procedure is slightly different.
Step 1
Go to your Outlook page through your web browser or by typing outlook.live.com into your address bar.
Step 2
Sign into your Outlook account, if prompted.
Step 3
Click the Settings Icon (the little cog at the top right of your page).
Step 4
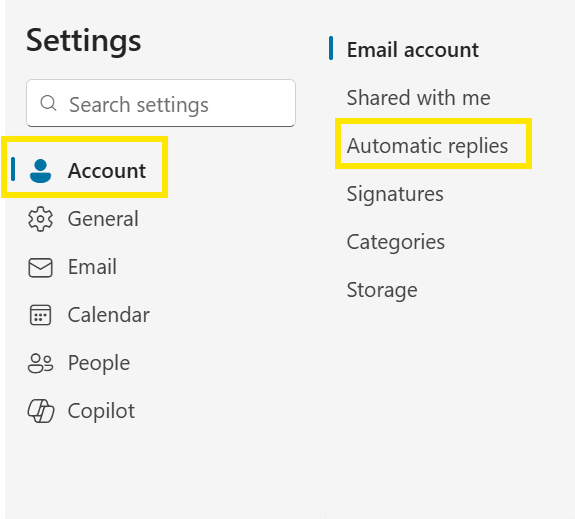
Click on Account then Automatic Replies
Step 5
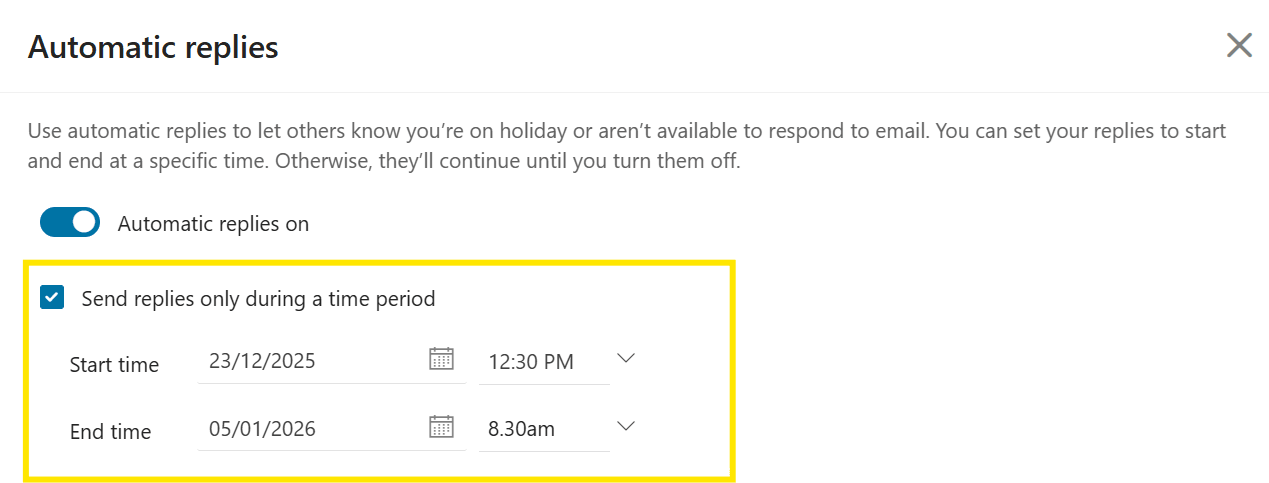
Toggle the button for Automatic replies on
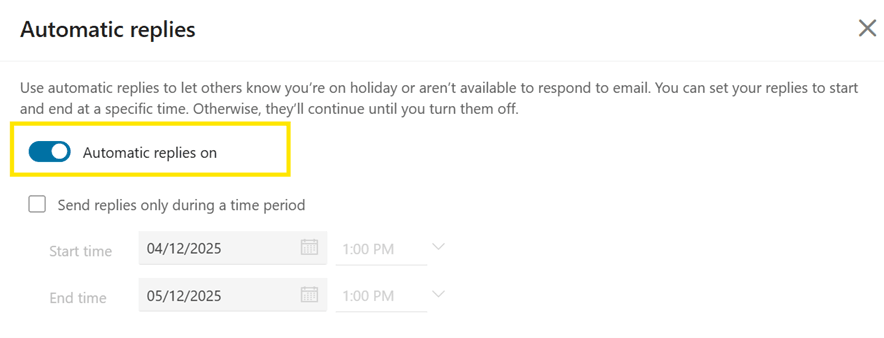
Click Send replies only during this period.
Set the Start date and time
Set the End date and time
Step 6
Scroll down and write your message for both options; inside your organisation and Send replies outside your organisation (clicking on only to contacts if desired)
Step 7
In this program you can also choose to Block my calendar for this period, Automatically decline new invitations for events that occur during this period or Decline and cancel my meetings during this period. To choose one or more of these options, tick the relevant box.
Step 8
Click Save.
Please note that Outlook does not include your signature automatically. If you wish to attach your signature you will need to copy and paste it, when typing the message.
| Tags:ServicesIT ConsultingCentral Coast |

